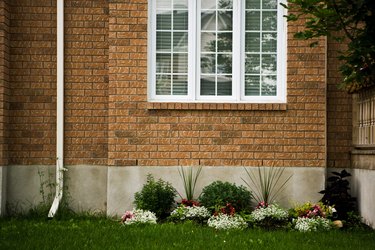
Downspouts are important parts of the guttering system of any house. They are responsible for routing rainwater or snowmelt from the gutters at the roof's eaves to the ground below. Properly installed downspouts ensure that rainwater is carried away from the foundation of the house so there is no flooding or potential foundation damage. Attaching downspouts to masonry requires techniques that differ only slightly from installing downspouts on a home with a more pliable exterior.
Measuring
Video of the Day
Measuring before attempting to install downspouts can save you a heartache. You don't have to measure downspouts to the exact inch, but you should have a rough idea of how much material you need before you rush off to the home improvement or hardware store to buy anything. You don't want to have to make multiple trips. Make sure that you buy a little more material than you need, including downspouts themselves and other hardware items, such as masonry bits.
Video of the Day
Elbows
Many downspouts do not fall directly below the guttering on the edge of the roof. Instead, the roof often overhangs the wall below, so it is necessary to add a couple of elbows that allow you to connect to the overhead gutter at an angle so the downspout is flush with the wall. Guttering elbows generally attach directly to the underside of the gutter with a screw and again at the downspout with another screw. Seams between the elbow, the gutter and the downspout are typically sealed with caulk containing an aluminum sealant.
Measuring and Cutting
Measuring and cutting the appropriate lengths of downspout are necessary once all of the preliminary work has been done. Measure from the point at which the second elbow contacts the wall to a point about 6 to 8 inches from the ground below to determine the actual length of downspout you will need. You'll need to attach an additional elbow and a short downspout pipe to ensure that the water routes away from the wall.
Attachment
Attaching and securing the downspout is the most difficult part of the entire process. It is not overly difficult, however, once you know the basic techniques involved. You will need a masonry bit to drill holes in the mortar between the bricks -- do not attempt to to drill directly into bricks or concrete blocks. Use a self-tapping 3/8-inch hex-head sheet metal screw to secure the downspout. Before securing the screw into the hole, you need to complete two basic tasks: First, take a piece of scrap downspout material and slice it open. Pull it apart and slip it around the downspout to hold it in place against the wall. Second, place a little silicone in the hole to help secure the screws in place. Avoid overtightening, or you will just have to start a new hole in a different location. Place one of these braces after the first elbow that connects the gutter to the downspout on the wall and another 18 to 24 inches from the ground. You can place a third in the middle to provide extra support also. Each brace will require two of the hex-head screws.