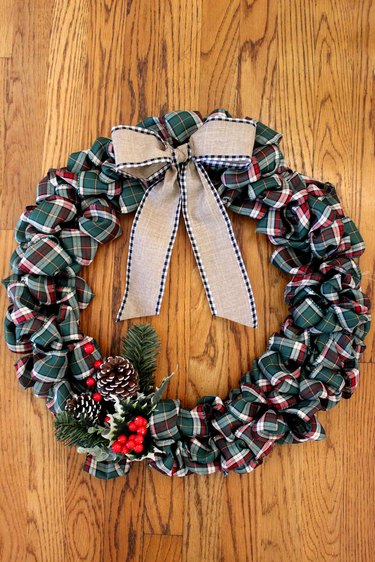
Of all the wreaths you can display during the holidays, a ribbon wreath is one of the most festive — and easiest — to make. With the ribbon of your choice and a wire wreath form, it takes just a matter of minutes to create a gorgeous wreath that will deck your halls with seasonal cheer and color. Whether you hang it on a door or rest it on a mantel, this wreath is sure to be a holiday favorite.

Video of the Day
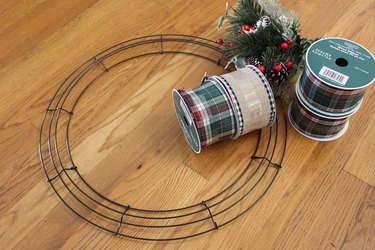
Things You'll Need
14-, 16- or 18-inch wire wreath form
Wired ribbon
Christmas floral pick
Wire cutter
Hot glue
Coordinating ribbon
Step 1: Secure One End of Ribbon
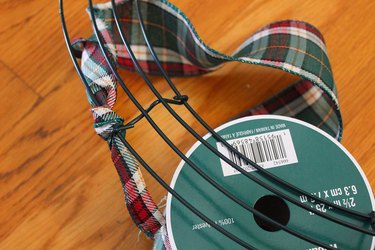
A wire wreath form typically has four concentric wires that form a domed ring. Work with the wreath so the dome is on top. Tie one end of the ribbon to the outside wire ring and tuck the knot on the underside. The spool of your ribbon should be on the bottom side of the wreath form.
Video of the Day
Step 2: Push Loops Through the Wires
The four concentric wires form three openings around the perimeter of the wreath like paths along a race track: an outside, the middle and the inner opening. From underneath the wreath form, push the ribbon through the outside opening to create a loop of about 3 inches.
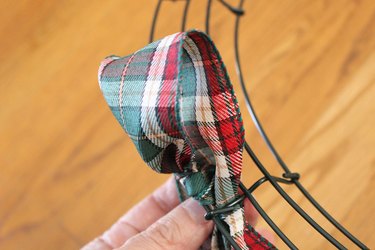
Push the ribbon through the middle and inner openings so that you have three loops in a row.
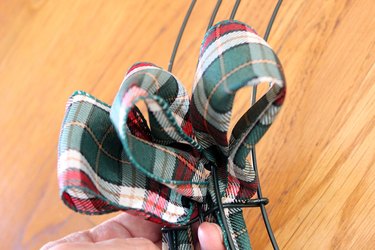
Step 3: Continue Rows of Ribbon
Once you've created three loops in one row, go back the other way to create loops in the opposite direction. Then continue, going back and forth to form rows of ribbons. To help illustrate the zigzag pattern, suppose we name the outside track "#1," the middle "#2" and the inner "#3." We would be pushing the loops up in this sequence: 1, 2, 3, 2, 1, 2, 3, 2, 1, etc. Note that #1 and #3 are never repeated. Once the ribbon is pushed up to create a loop, you move on to the adjacent opening — never the same one.
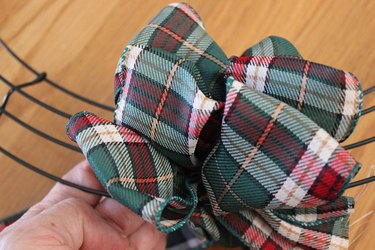
As you create rows of ribbon, scrunch them together. When you are finished with a spool of ribbon, tie a knot with the end of the ribbon to one of the wires in the wreath form.
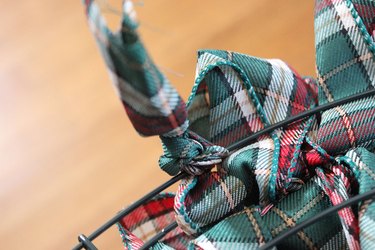
Step 4: Complete the Ribbon Loops
Keep pushing ribbon loops up through the wires until you have covered the wire wreath form. Tie the end of the ribbon to the wire form. I used an 18-inch wreath form and three spools of 25-feet ribbon. The actual amount of ribbon you use will depend on the size of your wreath form and how tightly you scrunch the rows of loops together.
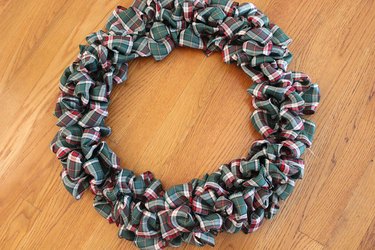
Use your fingers to fluff up and open the loops.

Step 5: Add Christmas Florals
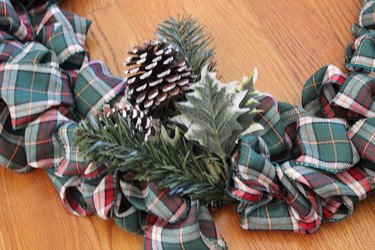
At this point, your wreath is technically complete, but I do recommend adding an embellishment for a pop of color and dimension. A Christmas floral pick is ideal for this feature, as it usually includes several coordinating floral elements. With wire cutters, snip off the elements you would like to include.

Hot glue the floral embellishments to the wire wreath form, pushing aside ribbon loops to fit them. The placement is completely up to you. I've placed them at the bottom of the wreath, slightly to the left of center.
Step 6: Add a Bow
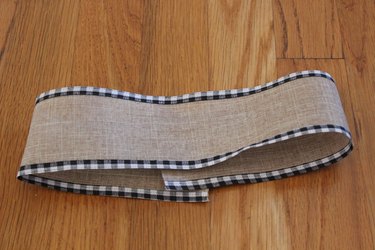
To top off the wreath, we'll add a bow made from a coordinating ribbon. To contrast with the colorful plaid ribbon used for the wreath, I selected a plain burlap ribbon. Cut a 16-inch section of ribbon and form a loop with it, securing the ends with hot glue.
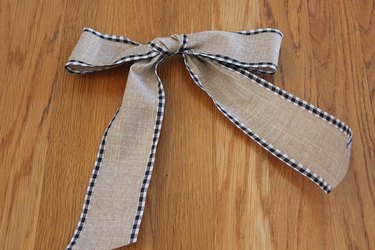
Cut a longer piece of ribbon about 24 inches and tie a tight knot in the middle of the loop to form the two loops of the bow. Extend the ends of the ribbon downward and trim them to fit within the wreath.
Hot glue the bow to the top of the wreath or secure it with a wire.
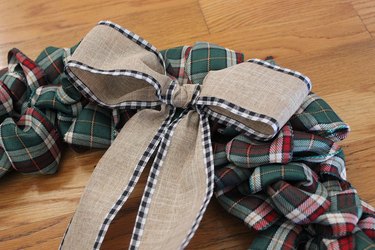
The concentric wires in the wreath make it easy to hang on a hook, and because the wreath lays flat, it also makes a beautiful centerpiece.
