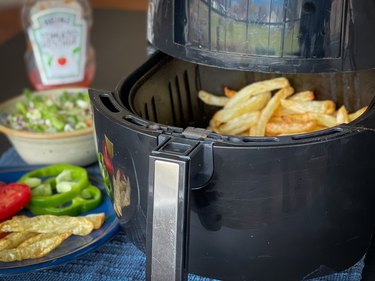
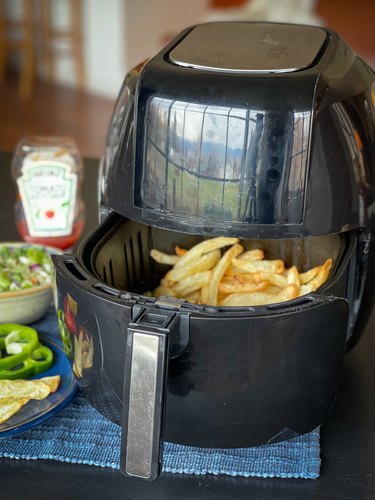
If you've taken the plunge and added an air fryer to your cooking arsenal, you'll be happy to know that cleaning one of these handy-dandy appliances is not as hard as you may think. Air fryers make cooking healthier, reduce cooking time and help keep your kitchen cooler. They don't take up too much space on your counter and are so convenient. Luckily, cleaning one is a snap too.
Video of the Day
Things You'll Need
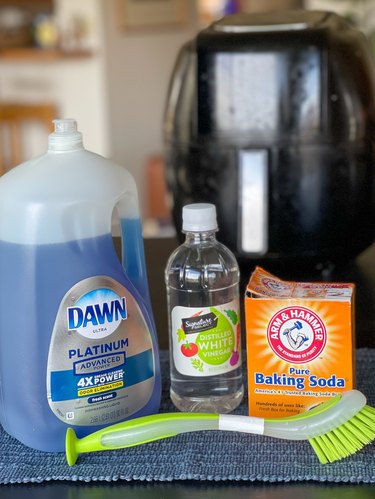
1 teaspoon baking soda
1 cup white vinegar
Dawn dish soap
Soft cleaning cloth
Tip
In order to keep your air fryer healthy, smelling fresh and in good working condition, you should clean it after every use.
Step 1
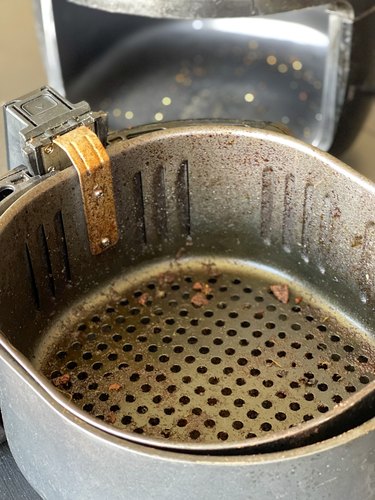
Remove the drawer and the basket from the air fryer.
Video of the Day
Step 2
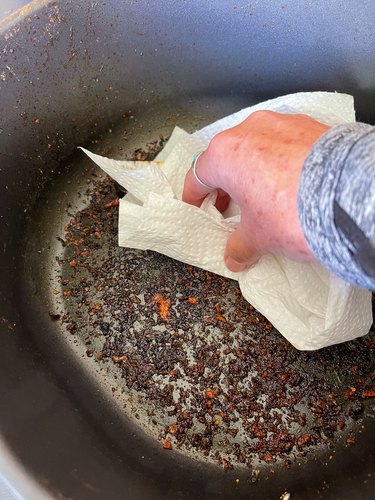
Use a paper towel to wipe out the grease and leftover food particles from the drawer and basket.
Step 3
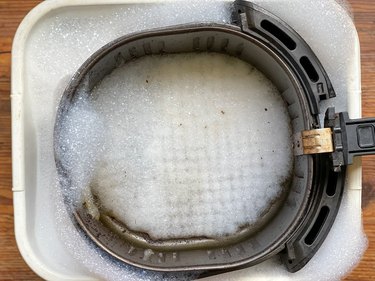
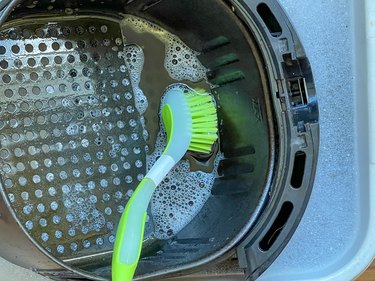
Soak the drawer and basket in hot, soapy water for at least 10 minutes. Use a soft scrub brush to clean the grease from the drawer and basket. Check your air fryer's manual because these pieces might be dishwasher safe after you soak them.
Tip
For stuck-on food and buildup in the basket, you could add enough hot water in the drawer to cover the bottom of the basket and squeeze in a bit of dish soap. Place the drawer and basket back into the air fryer, turn it on for 3 minutes and when you remove the drawer, the stuck-on food will be easy to remove with a soft brush or cloth.
Step 4
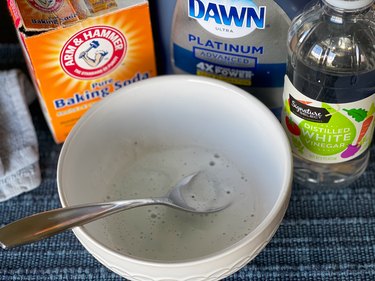
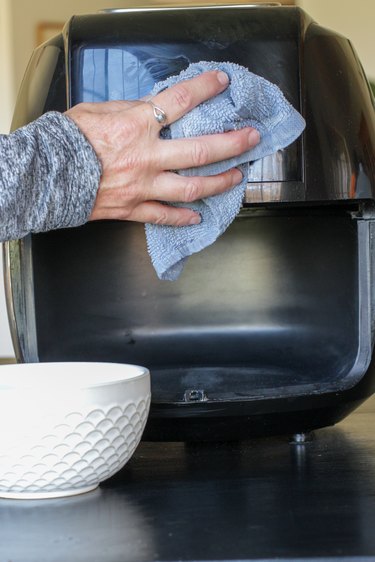
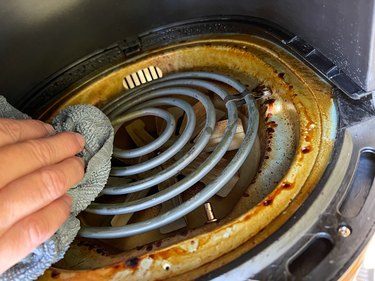
Make a nontoxic cleanser by mixing 1 teaspoon of baking soda, 1 cup of white vinegar and a splash of Dawn dish soap. Soak a soft cleaning cloth in this mixture and use the damp cloth to wipe down the interior and exterior of your air fryer. You can even use it to wipe any grease from the air fryer's heating element.
Step 5
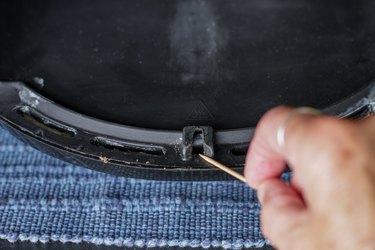
Use a toothpick to get into the small crevices and grooves and clean those areas.
Reassemble your machine and get back to cooking your favorite air fryer recipes.
